
Moving between screens and views is a crucial aspect of creating robust and user-friendly Android applications. The approach to navigation has been totally transformed with the advent of Jetpack Compose, Google's modern declarative UI toolkit.
Managing navigation effectively can be a daunting task, especially when it involves passing data between screens. So in this guide, we will dive into Compose navigation to help establish efficient navigation flows for your Android apps.
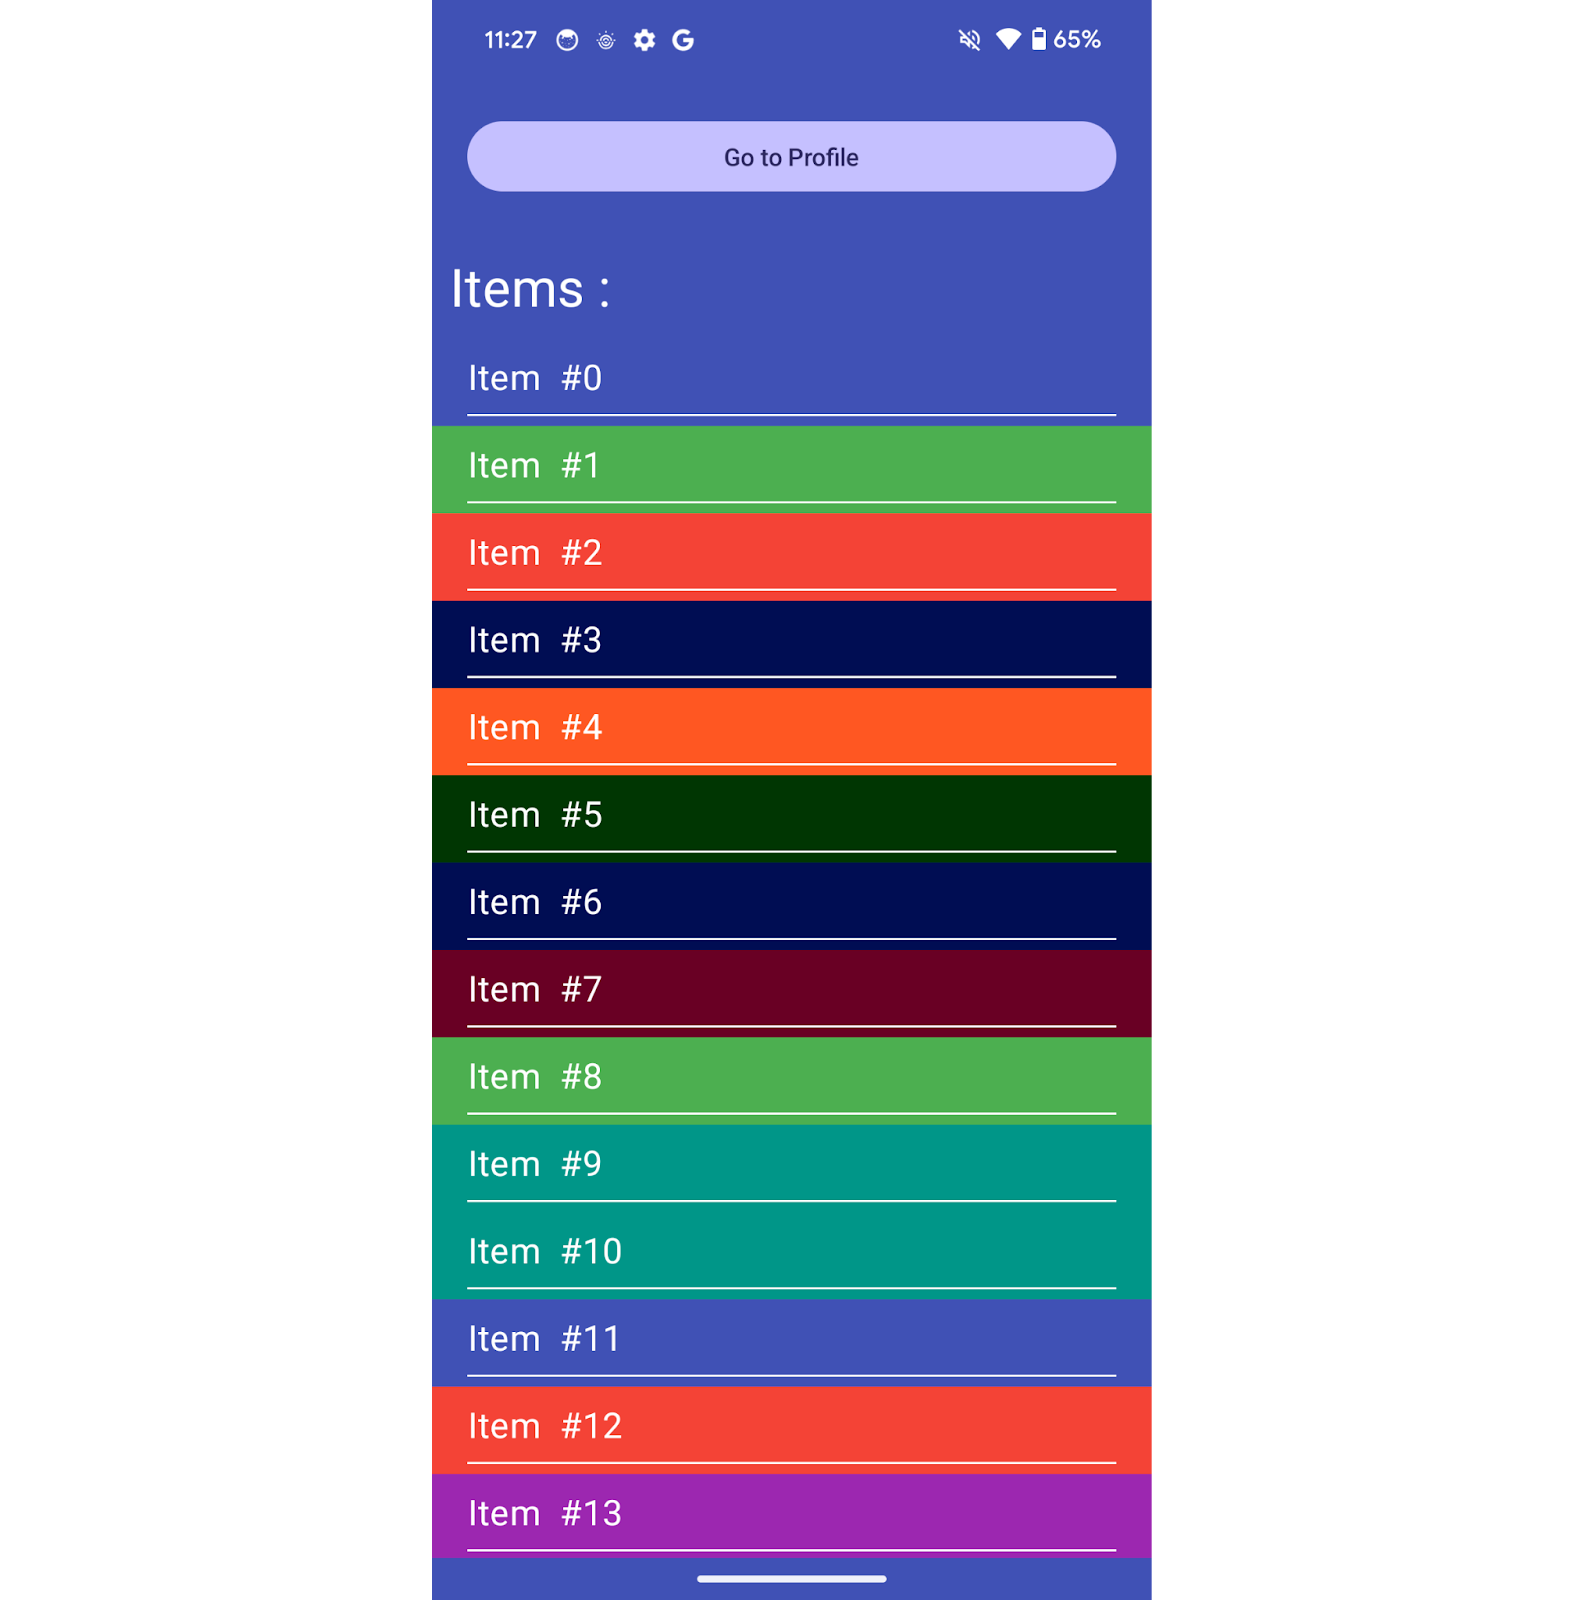
To illustrate this, we’ll construct a basic app with 3 distinct screens. The app will feature a Home Screen with a button to navigate to the Profile Screen. Additionally, the Home Screen will include a list of clickable items that lead to a detail screen. We’ll develop the app using Compose and Koin - straightforward library for injecting dependencies and viewModels.
Getting Started
Let's kick off by incorporating the necessary dependencies in build.gradle.kts.
implementation("androidx.lifecycle:lifecycle-viewmodel-compose:2.8.1")

val composeNavVersion = "2.7.7"

implementation("androidx.navigation:navigation-compose:$composeNavVersion")

val koinVersion = "3.5.6"

implementation("io.insert-koin:koin-core:$koinVersion")

implementation("io.insert-koin:koin-android:$koinVersion")

implementation("io.insert-koin:koin-androidx-compose:$koinVersion")
Building the UI
Home Screen
The home screen is a very simple one that inputs a list of items and functions as the user taps on the button to navigate to the profile and item screens.
@Composable
fun HomeScreen(items: List<ItemData>, onTapProfile: () -> Unit, onTapItem: (ItemData) -> Unit) {

    Box(
        Modifier.fillMaxSize().background(Color(0xFF3F51B5)).safeDrawingPadding(),
        Alignment.Center
    ) {
        LazyColumn {
            item {
                Box(Modifier.fillMaxWidth(), Alignment.Center) {
                    Button(
                        modifier = Modifier.fillMaxWidth().padding(20.dp),
                        onClick = { onTapProfile() }
                    ) {
                        Text("Go to Profile")
                    }
                }
            }

            item {
                Text(
                    "Items : ",
                    fontSize = 30.sp,
                    color = Color.White,
                    modifier = Modifier.padding(10.dp)
                )
            }

            items(items) { item ->
                Column(
                    Modifier.fillMaxWidth()
                        .height(50.dp)
                        .background(Color(item.color))
                        .clickable { onTapItem(item) }
                        .padding(horizontal = 20.dp)
                ) {
                    Spacer(Modifier.size(8.dp))

                    Text("Item  #${item.id}", fontSize = 20.sp, color = Color.White)

                    Spacer(Modifier.size(8.dp))

                    Box(Modifier.fillMaxWidth().height(1.dp).background(Color.White))
                }
            }
        }
    }
}
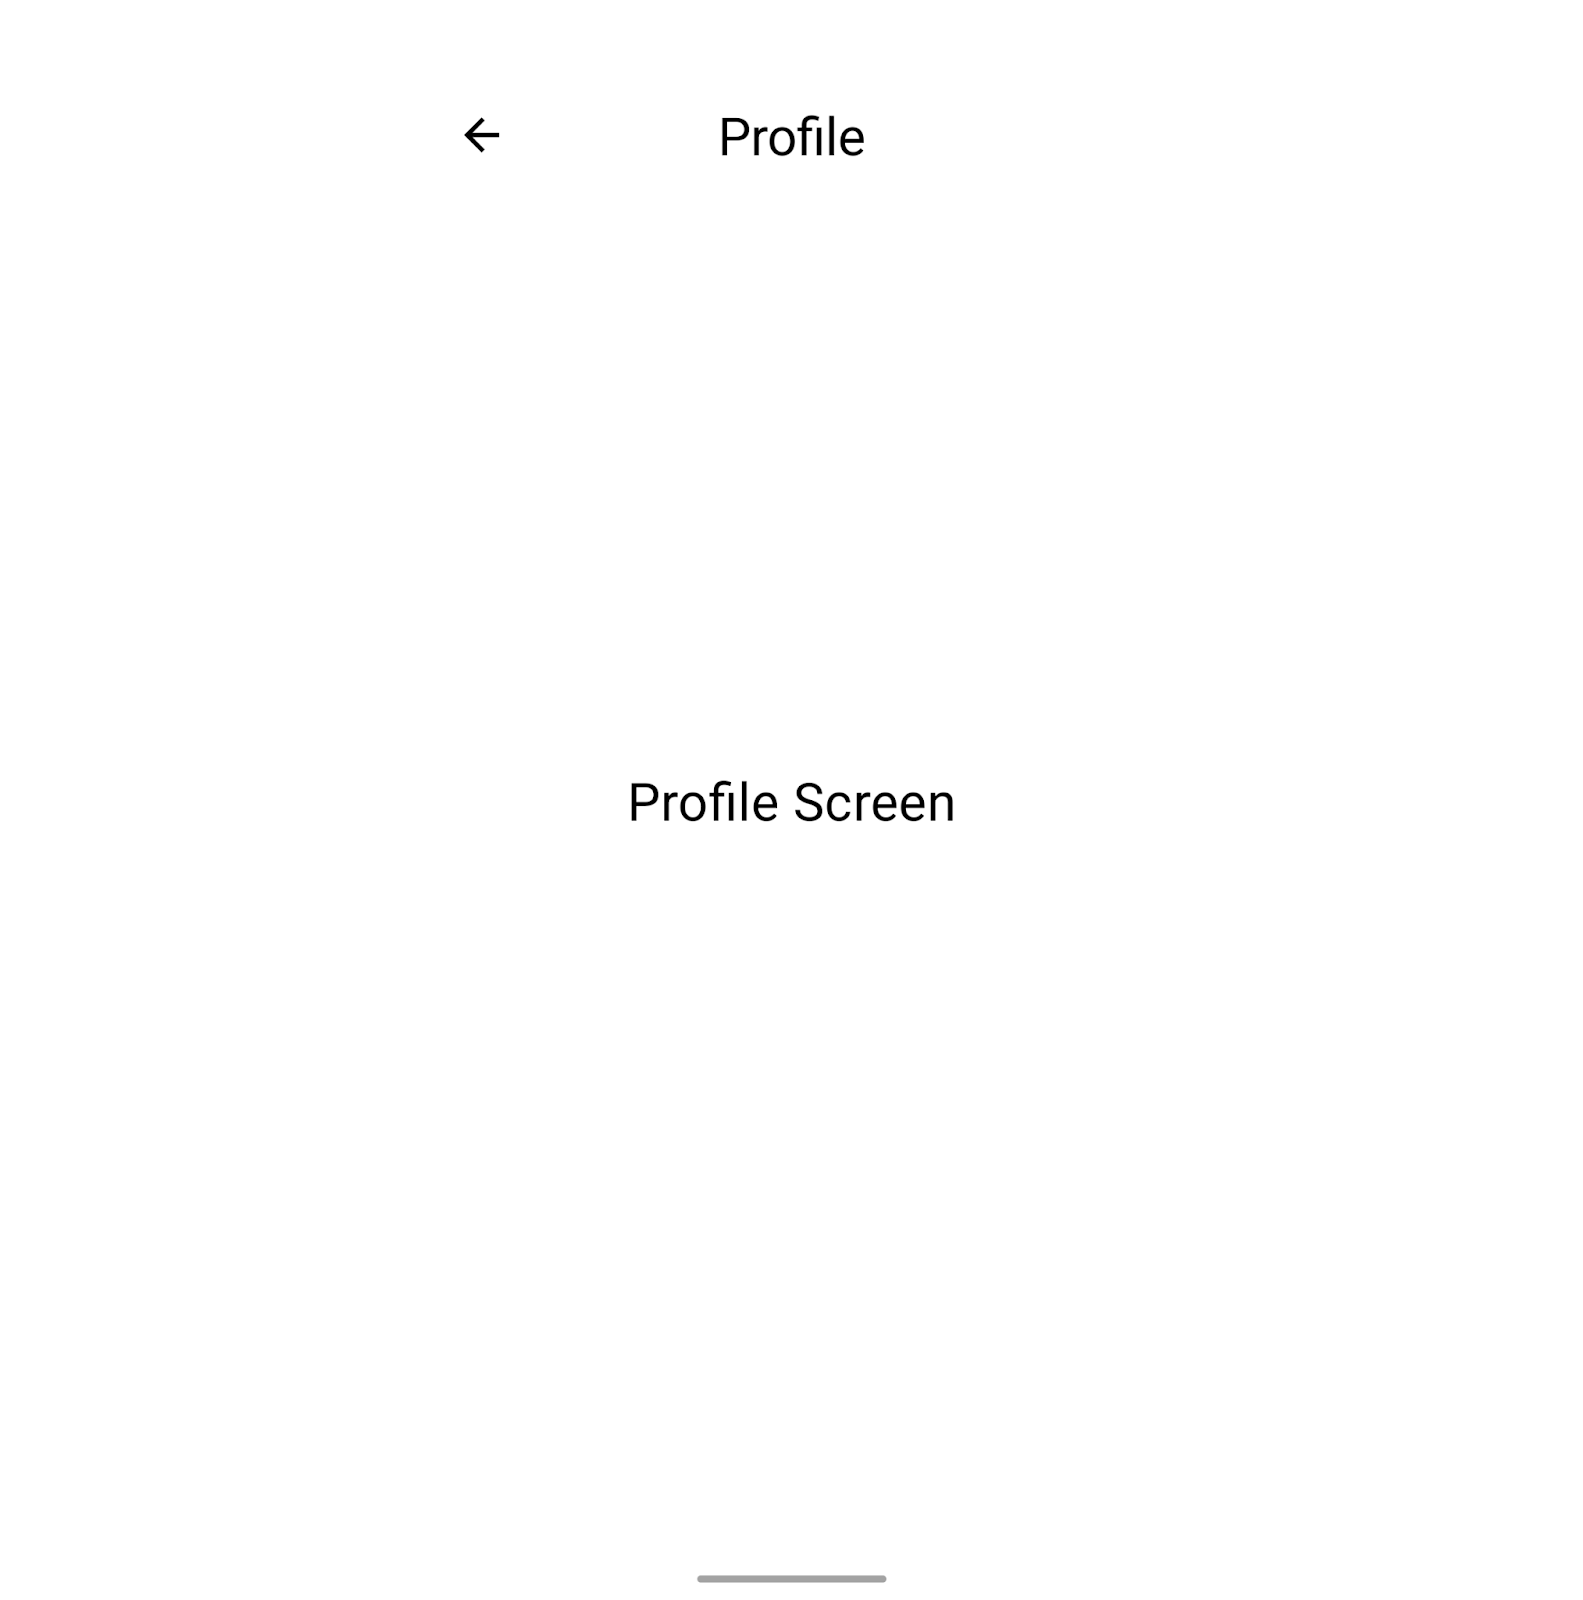
Profile Screen
The profile screen is the simplest screen of all. It just has a title and text positioned at the center. We will come back to the ProfileViewModel later.
@OptIn(ExperimentalMaterial3Api::class)
@Composable
fun ProfileScreen() {

    val viewModel: ProfileViewModel = koinViewModel()

    Scaffold(
        topBar = {
            CenterAlignedTopAppBar(
                title = { Text("Profile", color = Color.Black, fontSize = 30.sp) },
                navigationIcon = {
                    IconButton({ viewModel.navigateBack() }) {
                        Icon(
                            painterResource(R.drawable.back_arrow),
                            "back",
                            tint = Color.Black,
                            modifier = Modifier.size(30.dp)
                        )
                    }
                },
                modifier = Modifier,
                colors = TopAppBarDefaults.topAppBarColors(containerColor = Color.Transparent)
            )
        }
    ) { paddingValues ->
        Box(Modifier.fillMaxSize().background(Color.White), Alignment.Center) {
            Text("Profile Screen", fontSize = 30.sp, color = Color.Black)
        }
    }
}
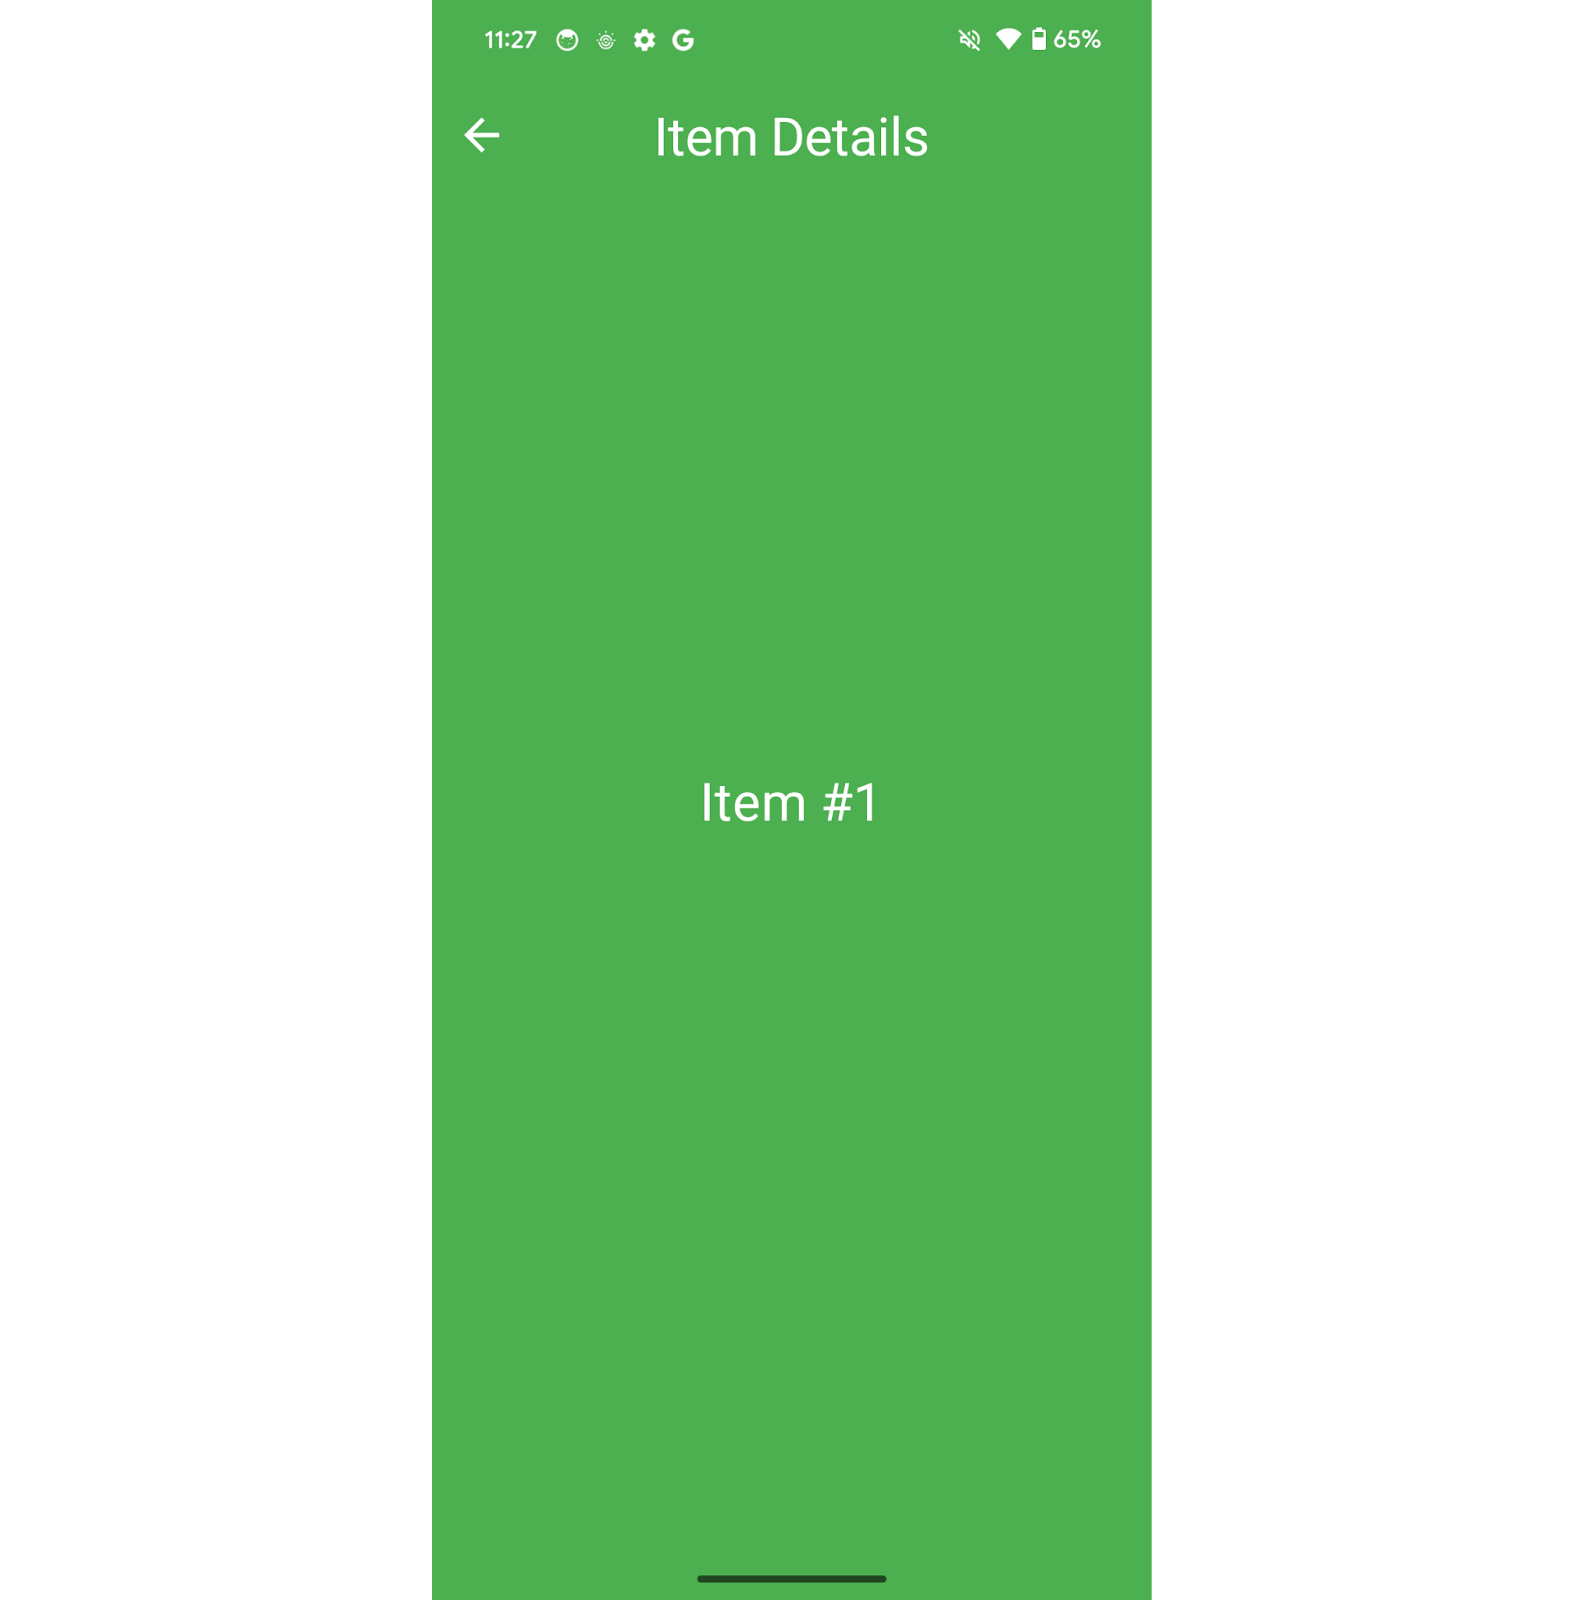
Item Details Screen
The ItemDetailsScreen will take the data from the ItemDetailsViewModel to display the number of the item and use the color for the background.
@OptIn(ExperimentalMaterial3Api::class)
@Composable
fun ItemDetailsScreen() {

    val viewModel: ItemDetailsViewModel = koinViewModel()

    Scaffold(
        topBar = {
            CenterAlignedTopAppBar(
                title = { Text("Item Details", color = Color.White, fontSize = 30.sp) },
                navigationIcon = {
                    IconButton({
                        // TODO: Add back navigation
                    }) {
                        Icon(
                            painterResource(R.drawable.back_arrow),
                            "back",
                            tint = Color.White,
                            modifier = Modifier.size(30.dp)
                        )
                    }
                },
                modifier = Modifier,
                colors = TopAppBarDefaults.topAppBarColors(containerColor = Color.Transparent)
            )
        }
    ) { paddingValues ->
        val item by remember { mutableStateOf(viewModel.item) }

        Box(Modifier.fillMaxSize().background(Color(item.color)), Alignment.Center) {
            Text("Item #${item.id}", fontSize = 30.sp, color = Color.White)
        }
    }
}
The Domain layer
To replicate a real-life scenario, let’s utilize a service that will supply us with the necessary data to showcase on our various screens. The ItemService will be injected into both the AppViewModel and ItemDetailsViewModel. These viewModels will then retrieve the required data and send it to the view.
interface ItemService {
    val items: List<ItemData>
}

class RealItemService : ItemService {

    override val items: List<ItemData> = generateItems()

    // Generate a list of 100 items with the index as ID and a random color from the list below
    private fun generateItems(): List<ItemData> =
        (0 until 100).map { ItemData(id = it, color = getRandomColor()) }

    private fun getRandomColor(): Long {

        val colorList =
            listOf(
                0xFFF44336,
                0xFF009688,
                0xFF9C27B0,
                0xFF673AB7,
                0xFF3F51B5,
                0xFF4CAF50,
                0xFFFF5722,
                0xFF5F1700,
                0xFF690024,
                0xFF000D53,
                0xFF003602
            )

        return colorList[(0..colorList.lastIndex).random()]
    }
}

data class ItemData(val id: Int, val color: Long)
Dependency Injection
In order to be able to inject the service into the ViewModels and inject the ViewModels into the views, we are going to use Koin. The setup is very simple.
First, we need to create a custom App class:
class MainApp : Application() {

    override fun onCreate() {

        super.onCreate()

        startKoin {
            androidContext(this@MainApp)

            modules(appModule)
        }
    }
}
Set the MainApp as the class to run at launch in the manifest:
<manifest xmlns:android="<http://schemas.android.com/apk/res/android>" xmlns:tools="<http://schemas.android.com/tools>">

<application android:name=".MainApp">
Almost there! Just create a kotlin file called appModule.kt. This file will contain all the different components to inject:
val appModule = module {

    // create a viewModel with all the required dependencies
    viewModelOf(::ItemDetailsViewModel)

    viewModelOf(::ProfileViewModel)

    viewModelOf(::AppViewModel)

    // Inject a Singleton
    single<ItemService> { RealItemService() }
}
And now we can create our viewModels to inject in the views:
val viewModel: ViewModel = koinViewModel()
class AppViewModel(itemService: ItemService) : ViewModel() {
    val itemList = itemService.items
}

class ItemDetailsViewModel(itemService: ItemService) : ViewModel()

class ProfileViewModel(private val navigator: Navigator) : ViewModel()
Navigation Handling
Now that we’ve set up the foundation, it's time to explore how to manage navigation using Jetpack Compose. To achieve this, we'll utilize the NavHost Component to encapsulate the various destinations within our app:
// Call this view from the MainActivity
// setContent {
//     TutorialNavigationTheme {
//         AppScreen()
//     }
// }

@Composable
fun AppScreen() {

    val viewModel: AppViewModel = koinViewModel()

    val navController = rememberNavController()

    NavHost(navController = navController, startDestination = HomeDestination.route) {
        composable(HomeDestination.route) {
            HomeContent(
                viewModel.itemList,
                {
                    // TODO: Add Profile Navigation
                }
            ) {
                // TODO: Add Item Navigation
            }
        }

        composableSlideInOut(ProfileDestination.route) { ProfileScreen() }

        composableSlideInOut(
            ItemDetailsDestination.route,
            arguments = ItemDetailsDestination.navArgs
        ) {
            ItemDetailsScreen()
        }
    }
}
composableSlideInOut is just an extension to customize the transition between two screens:
private const val transitionDuration = 700

fun NavGraphBuilder.composableSlideInOut(
    route: String,
    arguments: List<NamedNavArgument> = emptyList(),
    deepLinks: List<NavDeepLink> = emptyList(),
    enterTransition:
        (@JvmSuppressWildcards
        AnimatedContentTransitionScope<NavBackStackEntry>.() -> EnterTransition?)? =
        {
            slideIntoContainer(
                AnimatedContentTransitionScope.SlideDirection.Left,
                tween(transitionDuration)
            )
        },
    exitTransition:
        (@JvmSuppressWildcards
        AnimatedContentTransitionScope<NavBackStackEntry>.() -> ExitTransition?)? =
        {
            slideOutOfContainer(
                AnimatedContentTransitionScope.SlideDirection.Left,
                tween(transitionDuration)
            )
        },
    popEnterTransition:
        (@JvmSuppressWildcards
        AnimatedContentTransitionScope<NavBackStackEntry>.() -> EnterTransition?)? =
        {
            slideIntoContainer(
                AnimatedContentTransitionScope.SlideDirection.Right,
                tween(transitionDuration)
            )
        },
    popExitTransition:
        (@JvmSuppressWildcards
        AnimatedContentTransitionScope<NavBackStackEntry>.() -> ExitTransition?)? =
        {
            slideOutOfContainer(
                AnimatedContentTransitionScope.SlideDirection.Right,
                tween(transitionDuration)
            )
        },
    content: @Composable AnimatedContentScope.(NavBackStackEntry) -> Unit
) {

    composable(
        route,
        arguments,
        deepLinks,
        enterTransition,
        exitTransition,
        popEnterTransition,
        popExitTransition,
        content
    )
}
Within the NavHost, you'll find composables that specify the various views and how to navigate between them. Remember to include a NavController using rememberNavController to handle the navigation.
The NavHost must designate a start destination to determine the initial screen to show. This start destination is simply a String that corresponds to one provided to a composable.
Here, we want the app to start on the HomeScreen.
Destinations
There are numerous effective approaches to handle destinations - scattered Strings however, is not one of the recommended approaches. It's quite easy to misspell them and encounter a crash. Instead, a popular approach is to utilize either an enum class or a sealed class.
For now, we'll handle destinations differently. Every destination will be a class that contains a static string for the route.
object HomeDestination {

    private const val root = "home"

    const val route = root
}
Or:
object ProfileDestination {

    private const val root = "profile"

    const val route = root
}
This will work nicely for a simple navigation without passing any arguments between screens. It might even be overkill.
Issues may arise when trying to send data - like the item id - to ItemDetailsScreen in this case.
To send parameters to a different screen, you must include the parameter name after the destination name in the route definition, for example: "$root/$index". As you construct the route, the argument name will be substituted with its actual value.
To make it easy, each destination will extend NavDestination.
interface NavDestination {

    fun buildRoute(): String
}

object HomeDestination : NavDestination {

    override fun buildRoute(): String = route

    private const val root = "home"

    const val route = root
}

object ProfileDestination : NavDestination {

    override fun buildRoute(): String = route

    private const val root = "profile"

    const val route = root
}

class ItemDetailsDestination(val index: Int) : NavDestination {

    constructor(
        savedStateHandle: SavedStateHandle
    ) : this(index = requireNotNull(savedStateHandle.get<Int>(inputArg)))

    override fun buildRoute(): String = "$root/$index"

    companion object {

        private const val root = "item_details"

        private const val inputArg = "index"

        const val route = "$root/{$inputArg}"

        val navArgs = listOf(navArgument(inputArg) { type = NavType.IntType })
    }
}
As you can see, ItemDetailsDestination will pass the index of the selected item to the detailed screen. For this, we pass the static route and navigation arguments navArgs which consist of a list of name (inputArg which is index) and a type (Here NavType.IntType).
The custom constructor will be used to recreate ItemDetailsDestination with the params that were passed from HomeScreen thanks to SavedStateHandle. More to come on that.
Navigator
Let's look at the main component of this architecture - the Navigator :
interface Navigator {

    fun setController(navController: NavController)

    fun navigate(route: NavDestination, builder: NavOptionsBuilder.() -> Unit = {})

    fun popBackStack()

    fun popBackStack(route: NavDestination, inclusive: Boolean, saveState: Boolean = false)
}

class RealNavigator : Navigator {

    private var navController: NavController? = null

    override fun setController(navController: NavController) {

        this.navController = navController
    }

    override fun navigate(route: NavDestination, builder: NavOptionsBuilder.() -> Unit) {

        navController?.navigate(route.buildRoute(), builder)
            ?: Log.w("Navigator", "No NavController set in the Navigator")
    }

    override fun popBackStack() {

        navController?.popBackStack() ?: Log.w("Navigator", "No NavController set in the Navigator")
    }

    override fun popBackStack(route: NavDestination, inclusive: Boolean, saveState: Boolean) {

        navController?.popBackStack(route.buildRoute(), inclusive, saveState)
    }
}
The Navigator will handle the navigation for us. From now on, every time we want to navigate, we are not going to call the usual navController.navigate("route") but navigator.navigate(NavDestination) instead. The Navigator will also take care of the back navigation calling popBackStack() to navigate back to the previous screen or to a desired screen present in the navigation back stack.
The Navigator will be injected into the viewModel of every screen and the view will call a viewModel function that will handle the desired navigation.
Now, let's see how to set that up.
In the appModule that we created previously, define how to instantiate the Navigator
val appModule = module {
    viewModelOf(::ItemDetailsViewModel)

    viewModelOf(::ProfileViewModel)

    viewModelOf(::AppViewModel)

    single<ItemService> { RealItemService() }

    // Add this line
    single<Navigator> { RealNavigator() }
}
In order for the Navigator to work, it needs to have the Compose NavController used by the NavHost. As the Navigator is a singleton, only one instance will be created, ensuring that we have a common Navigator across the app.
So we can inject it in the AppScreen where we will pass the NavController:
@Composable
fun AppScreen(
    // Inject the navigator
    navigator: Navigator = koinInject()
) {

    val viewModel: AppViewModel = koinViewModel()

    val navController = rememberNavController()

    // Pass the navController to the navigator
    LaunchedEffect(navController) {
    	navigator.setController(navController)
    }

    ...
}
Now we can modify each viewModel by adding the navigator to their constructor. As the navigator is defined in the appModule, Koin knows how to instantiate and pass it to the ViewModel
class AppViewModel(itemService: ItemService, private val navigator: Navigator) : ViewModel() {

    val itemList = itemService.items

    fun navigateToProfile() {
        navigator.navigate(ProfileDestination)
    }

    fun navigateToItem(index: Int) {
        navigator.navigate(ItemDetailsDestination(index))
    }
}
The ViewModel will now handle the navigation. We can fill the HomeScreen lambda with the navigation logic:
fun AppScreen(navigator: Navigator = koinInject()) {
    ...
    NavHost(navController = navController, startDestination = HomeDestination.route) {
        composable(HomeDestination.route) {
            HomeScreen(viewModel.itemList, { viewModel.navigateToProfile() }) { item ->
                viewModel.navigateToItem(item.id)
            }
        }

        ...
    }
}
Receiving arguments
In order to receive the arguments, we will inject the Navigator and the SavedStateHandle which holds the arguments in a key-value format.
Koin takes care of SavedStateHandle as stated here.
class ItemDetailsViewModel(
    itemService: ItemService,
    private val navigator: Navigator,
    savedStateHandle: SavedStateHandle
) : ViewModel() {

    private val route = ItemDetailsDestination(savedStateHandle)

    val item = itemService.items[route.index]

    fun navigateBack() {
        navigator.popBackStack()
    }
}
First, ItemDetailsViewModel retrieves the index of the item from the SavedStateHandle and then gets the item object from the itemService.
We can now call navigateBack() from the view to navigate back to our HomeScreen
Scaffold(
    topBar = {
        CenterAlignedTopAppBar(
            title = { Text("Item Details", color = Color.White, fontSize = 30.sp) },
            navigationIcon = {
                IconButton({
                    // Call back navigation here
                    viewModel.navigateBack()
                }) {
                    Icon(
                        painterResource(R.drawable.back_arrow),
                        "back",
                        tint = Color.White,
                        modifier = Modifier.size(30.dp)
                    )
                }
            }
        )
    }
)
So there you have it! We've just explored the best way to handle navigation in your Jetpack Compose Android apps.
By using this architecture you can create a navigation structure that's not only robust but also super easy to maintain and scale, without using too many callbacks to call the NavController from the parent view with the NavHost.
This approach makes for cleaner code and reduces the chance of errors. If you're looking for help building your Android product, contact Studio today.